Welcome back to the underwater filming tips series! In this article, we will not talk about red filters or video lamp surround filters. We will talk about all this in one of the next videos. Here are some tips on how to set white balance underwater to start a successful underwater shoot.
Why is white balance necessary?
This article is based on filming and photography tips underwater, which is written by the author of the Daivings.lv article in collaboration with an underwater photographer and videographer- PADI instructor Valters Preimanis, the former Photo Academy lecturer who has completed Professional photo school and Film directing studies.
Table of Contents
What is color temperature and why is it important?
Color temperature is usually measured Kelvin (K). The most commonly used color temperatures in the film industry are tungsten light and daylight. This is very important if you are filming above water, but it is also useful to know these basics when filming underwater.
Underwater LIGHTS use a very warm light with a color temperature of about 3500 K. This is the light you see in the background and has a warm color temperature. Daylight, on the other hand, has a very cold color temperature, around 5000-6000 K. This is a cooler color temperature.
There is daylight, and the light coming through the windows is also daylight. Background lights are just background lights to enhance the look of the stage. The Kelvin scale is from about 1000 to 12000K, it can even be higher than 12000K. 1000K is a very, very warm color temperature, while 12,000K will be a very, very cold color temperature.

Why is white balance necessary underwater?
White balance underwater is as important as breathing underwater. If you don't breathe, you'll die, and if you don't get your white balance right, your footage will be… well, maybe not as drastic, but you'll run into some serious color correction issues.
You will not be able to restore or repair lost colors. You can have a perfectly exposed image, but if you mess up the white balance, everything will be messed up and your colors will be destroyed. White balance tells the camera which objects are actually white.
For example, if a warm light shines on a white wall, the white wall will be displayed as a warm color temperature. To make that wall actually look white, you need to do a manual white balance and tell the camera that the wall is actually white.
White balance and its meaning
Why does water absorb colors?
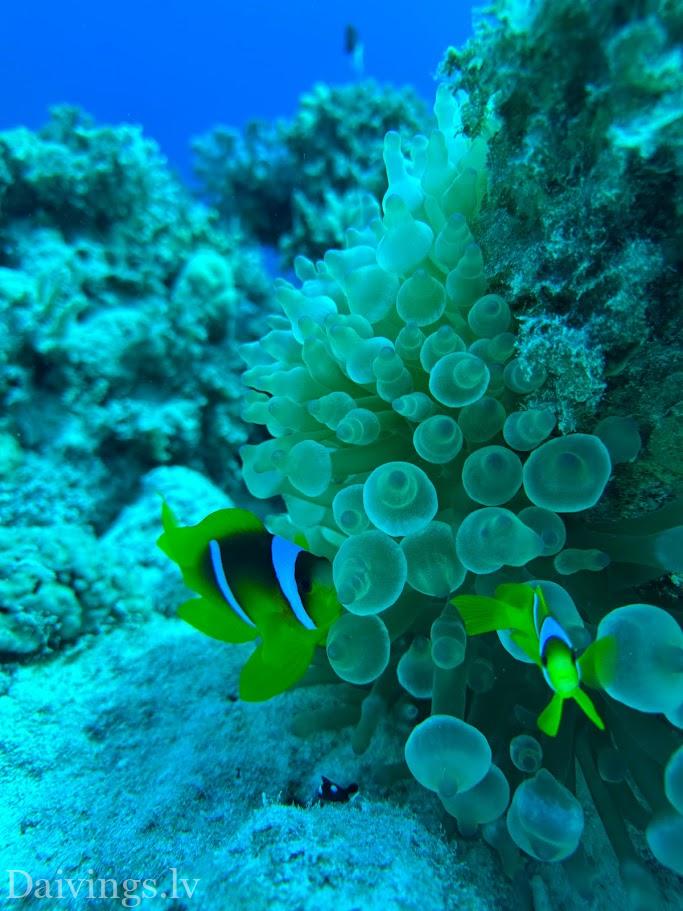
As already mentioned, water absorbs light and colors much faster than air. This means that the deeper you go, the less color you will see. Red colors disappear first, then orange, yellow and finally green. By the time you reach greater depth, the only dominant color will be blue.
Why is it so important to set white balance underwater?
- Preserving natural colors: If you don't set the white balance, your camera will automatically try to adjust to the dominant bluish color. As a result, all underwater objects will appear bluish or greenish, even if they are actually other colors.
- Making color correction easier: If you set the correct white balance during filming, color correction afterwards will be much easier. You won't have to try to recover colors that were lost during filming.
How to set manual white balance?
- White balance card:
- Use a special white balance card. It is a white card that serves as a reference for the camera to understand what the true white color is.
- Place the card close to the camera lens and fill the frame with it.
- Press the camera's white balance setting button.
- Repeat this process every 1-2 meters as the color temperature may change due to water absorption.
- Other options:
- Dive slate: If there is no white balance card, a diving layer can be used.
- White sand: If white sand is available, it can be used as a reference point. However, it should be noted that the sand may be slightly reddish, so the result may be slightly inaccurate.
- White diving flippers or gloves: If they have white details on them, they can be used to set the white balance.
Additional tips:
- Filming distance: For more accurate colors, try to shoot subjects as close as possible.
- Compressed formats: If you shoot in a compressed format (such as H.264), the ability to change the white balance after shooting will be limited.
- RAW format: When shooting in RAW format, you will have more opportunities to adjust the white balance after shooting.
- Auto White Balance: Forget about it! Always use manual white balance when filming underwater.
- Custom presets: Many cameras allow you to save multiple white balance settings. This is useful if you often shoot in similar conditions.
Conclusion
White balance is an essential element to get quality underwater videos. Regularly setting the white balance will allow you to preserve natural colors and make color correction easier after filming.
In the following articles we will cover:
- Red filters and their use underwater
- Video lamps and their effect on colors
- Other tips to improve the quality of your underwater videos
Do you have any questions about white balance or other aspects of underwater filming?
The following topics could be considered for a future article:
- How to choose the right camera and lens for underwater filming
- How to create interesting underwater scenes
- How to edit and process underwater video
Please let me know what you would like to read about next!
Top tips for setting color balance
1. Use the White Balance Card:
- Why? A white balance card is the most accurate way to set white balance. It serves as a reference for the camera to understand what the true white color is underwater.
- How? Place the card close to the camera, fill the frame with it, and press the white balance button.
2. Repeat Setup Regularly:
- Why? Water absorbs light and colors differently at different depths. Therefore, as the depth changes, so does the color temperature.
- How? Repeat the white balance setting every 1-2 meters, especially if you notice the colors starting to change.
3. Film Closer:
- Why? The further the subject is from the camera, the more the layers of water absorb the colors.
- How? Try to shoot subjects as close as possible to preserve their natural colors.
4. Use RAW Format:
- Why? The RAW format retains more information about the image, which allows for more extensive color corrections after filming.
- How? If your camera supports RAW format, definitely use it for underwater filming.
5. Forget Auto White Balance:
- Why? Underwater conditions are too variable to rely on automatic setting.
- How? Always use manual white balance setting.
Additional Tips:
- Alternatives to White Balance Cards: If no white balance card is available, a white diving layer, white sand, or other white surfaces can be used.
- Saved settings or Custom Presets: Save different white balance settings as custom profiles if you often shoot in similar conditions.
- Practicing: The more you practice, the better you'll get at setting white balance and the better results you'll get.
Invitation to familiarize yourself with the wide range of cameras and lights:
Visit the daivings.lv store for a wide range of action cameras and accessories, including the Divevolk Mobile Phone Underwater Frame, which will allow you to capture impressive underwater videos with your smartphone! Our experts will help you choose the right equipment and give you tips on underwater filming.
We look forward to seeing you at the daivings.lv store, here!
Useful articles on related topics: