
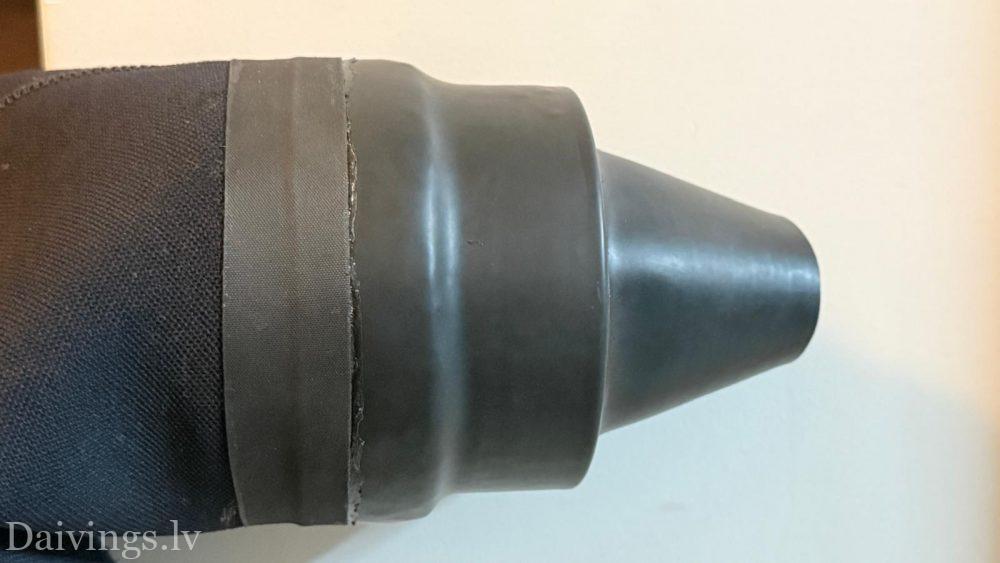
How to replace drysuit hand cuffs, adhesive latex hand seal yourself
Required tools and materials:
- New latex hand seal (bottle or cone-shaped)
- Two-component polyurethane adhesive (for example, HELASTOPACT, Bostik 2402 with hardener) or Aquasure / Aquaseal
- Glue remover/degreaser: Methyl ethyl ketone, Acetone or isopropanol (IPA)
- Form/For colon inflation: Glass jar, plastic bottle or specialized wooden/plastic cone (the diameter should be such that the sleeve is slightly stretched but not deformed)
- Sandpaper: Fine (P120–P180)
- Masking tape (painter's tape)
- Brush for applying glue
- Hairdryer (as needed, to soften old glue)
Step 1, removing the old gasket
- Insert a bottle or cylinder of appropriate diameter into the sleeve to secure the fabric.
- Carefully peel off the old latex gasket. If the glue is holding firmly, slightly heat the adhesive with a blow dryer or hair dryer (be careful not to overheat the fabric of the suit).
- Surface cleaning: Remove any old adhesive residue from the cuff (base) of the suit mechanically or with a cloth soaked in acetone.
Step 2, surface preparation
- Sandpaper treatment:
- Lightly sand the adhesive strip of the new latex seal (from the inside or outside, depending on the type of installation) until it becomes matte.
- If the base of the suit is neoprene or latex, lightly roughen it as well.
- Degreasing: Thoroughly wipe both surfaces to be glued with Methyl Ethyl Ketone, Acetone or Isopropanol to remove dust and grease. Allow to dry for 5 minutes.
- Locking: Place the end of the sleeve of the suit on the mold (jar/cylinder) so that the gluing area is flat and without creases.
Step 3, Applying Glue
(Example with a two-component contact adhesive, e.g. HELASTOPAKT)
- Mix the two-component adhesive with hardener according to the manufacturer's instructions.
- Apply with a brush first thin layer of glue both on the cuff of the suit and on the adhesive strip of the new latex seal.
- Let the first coat dry for approx. 10–15 minutes (until it no longer sticks to your fingers).
- Apply second thin layer of glue on both surfaces and let it dry 3–5 minutesuntil it becomes sticky, but does not transfer to your fingers.
4. Step, connect and force
- Carefully slide the new gasket onto the form and align it precisely with the adhesive strip on the suit cuff.
- Important: The contact adhesive sets instantly, so centering should be done carefully.
- Carefully press and smooth the adhesive from the center outwards to remove any air bubbles. Use a stiff roller or the back of a spoon to press firmly.
- A narrow adhesive strip (sealing layer) can be applied to the outside of the adhesive edge for additional protection.
5. Step, drying and testing
- Leave the garment to dry on the form for at least 24 hours (full polymerization occurs within 24–48 hours).
- After drying, remove the mold and check the adhesive seam by gently pulling on it.
- Make sure there are no gaps or unglued areas. It is recommended to perform a pressure test of the suit in the water before diving.
Daivings.lv tip: If you do not want to do the gluing yourself or the suit fabric is damaged, take the dry suit to Daivings.lv service, where our craftsmen will perform a professional gasket replacement and, if necessary, a pressure test.